This weekend, Charlotte Rose and I made 48 mini cupcakes that tasted (yes, past tense, they are gone) like frappuchinos.
They were super duper good.
If you want to make them too, simply follow the original cupcake recipe. Swap out the sparkling water with 4 oz. of "coffee". To "brew", heat up 5 oz. of water and throw in 2 tbs. of coffee grounds and "steep" them for 5 minutes. Let the water cool, and pour the contents over two coffee filters into another cup. Pour 4 oz. of the cool coffee into the batter and bake.
Frosting is the same.
Earl Gray and Lemon Buttercream Cupcakes
Remember this cupcake recipe? Well, it turns out, it is super easy to make minor adjustments to it to get some pretty fun and tasty results. Over the weekend, I experimented a bit, and came up with this SUPER YUMMY and SUPER EASY way to transform a pretty basic recipe into something just a little bit fancier. Give these a try for your next garden party (I don't have these), or soiree (or these), or afternoon on the couch (This is more my speed)
Because the changes to this recipe are really minor, I have just copied and pasted the recipe from a few weeks ago, and edited in the changes. I've also made the changes bold.
Earl Gray Cupcake Recipe
Cupcake Ingredients
1 1/2 cups GF flour mix. (I like Bob's Red Mill in the blue bag)
1/4 tsp baking soda
1/2 tsp baking powder
1 cup granulated sugar
Pinch of salt
1/2 cup butter (room temperature, sliced into half inch sections)
2 eggs
1/2 cup buttermilk
1/2 cup seltzer (I actually used sparkling apple juice, the carbonation is what matters)
5 Earl Gray tea bags
Cupcake Process
Set oven to 325 F. Line your cupcake pan with cupcake liners. This recipe makes about 12 cupcakes.
Mix your dry ingredients (flour, baking soda and powder, sugar, and salt) in the bowl of your stand mixer. You can sift them, but I find a whisk works just fine. Add the butter and set your mixer to low. Mix until the ingredients are well combined; it should look like coarse sand.
Pour the buttermilk into a glass and microwave for 30 seconds. Add the tea bags and let sit for 15 mins. Squeeze the buttermilk that has been absorbed by the tea bags into the butter, sugar, and flour mixture. Tear open one tea bag and add the contents to the mixture (this part is optional, but I like the way it looks). Add the rest of the buttermilk. Add the seltzer and eggs.
Mix on medium until well combined. Pour into the cupcake liners; fill to about 2/3 full.
Bake for 25 minutes or until you can pull a toothpick out clean. Let cool.
Simple Fluffy Buttercream
Frosting Ingredients
1/2 cup butter, softened
7 oz Marshmallow Fluff
1/4 - 1/2 cup powdered sugar
Lemon extract
Food coloring (if you want)
Frosting Process
Mix butter and marshmallow fluff with stand mixer until fluffy and well combined. Add powdered sugar until it reaches desired consistency. Add Lemon extract a few drops at a time until you get the desired flavor. I like a light lemon flavor so you can really taste the tea in the cakes.
Apply to cupcakes however you prefer. I like a piping bag, but a spatula or knife works just as well.
These are pretty seriously yummy. Give them a try and tell me what you think!
And, Speaking of Butter
I LOVE making cupcakes. They are yummy, adorable, and I feel like they are smaller than a slice of cake so they must be healthier. I am allergic to wheat, though, so baked goods have been kind of a challenge to get right. Let's be honest, gluten free stuff is kind of gross.
I have been working on a gluten free vanilla cupcake recipe for a while, and I think this one is pretty tasty. The cupcakes are soft, moist, and a little springy.
I can't take full credit for the frosting recipe, though, it was sent to me by a co-worker. You can find the original here, although I will include the instructions below. I did make a few adjustments. I don't make traditional buttercream because, for one, I don't like it. I also think it is kind of a pain.
Sparkling Vanilla Cupcake Recipe
Cupcake Ingredients
1 1/2 cups GF flour mix. (I like Bob's Red Mill in the blue bag)
1/4 tsp baking soda
1/2 tsp baking powder
1 cup granulated sugar
Pinch of salt
1/2 cup butter (room temperature, sliced into half inch sections)
2 eggs
1/2 cup buttermilk
1/2 cup seltzer (I actually used sparkling apple juice, the carbonation is what matters)
1 tsp vanilla
Cupcake Process
Set oven to 325 F. Line your cupcake pan with cupcake liners. This recipe makes about 12 cupcakes.
Mix your dry ingredients (flour, baking soda and powder, sugar, and salt) in the bowl of your stand mixer. You can sift them, but I find a whisk works just fine. Add the butter and set your mixer to low. Mix until the ingredients are well combined; it should look like coarse sand.
Add the eggs, buttermilk, seltzer, and vanilla. Mix on medium until well combined. Pour into the cupcake liners; fill to about 2/3 full.
Bake for 25 minutes or until you can pull a toothpick out clean. Let cool.
Simple Fluffy Buttercream
Frosting Ingredients
1/2 cup butter, softened
7 oz Marshmallow Fluff
1/4 - 1/2 cup powdered sugar
Frosting Process
Mix butter and marshmallow fluff with stand mixer until fluffy and well combined. Add powdered sugar until it reaches desired consistency. I'm not kidding, it really is that easy. I used less butter than the original recipe, and I also omit the vanilla. To me, with these changes, the frosting is perfect.
Apply to cupcakes however you prefer. I like a piping bag, but a spatula or knife works just as well.
Cupcakes should keep for about 5 days, refrigerated. I typically bring them back to room temp before serving because the butter in the buttercream hardens. Any questions or comments are welcome!
Enjoy!
Butter Up!
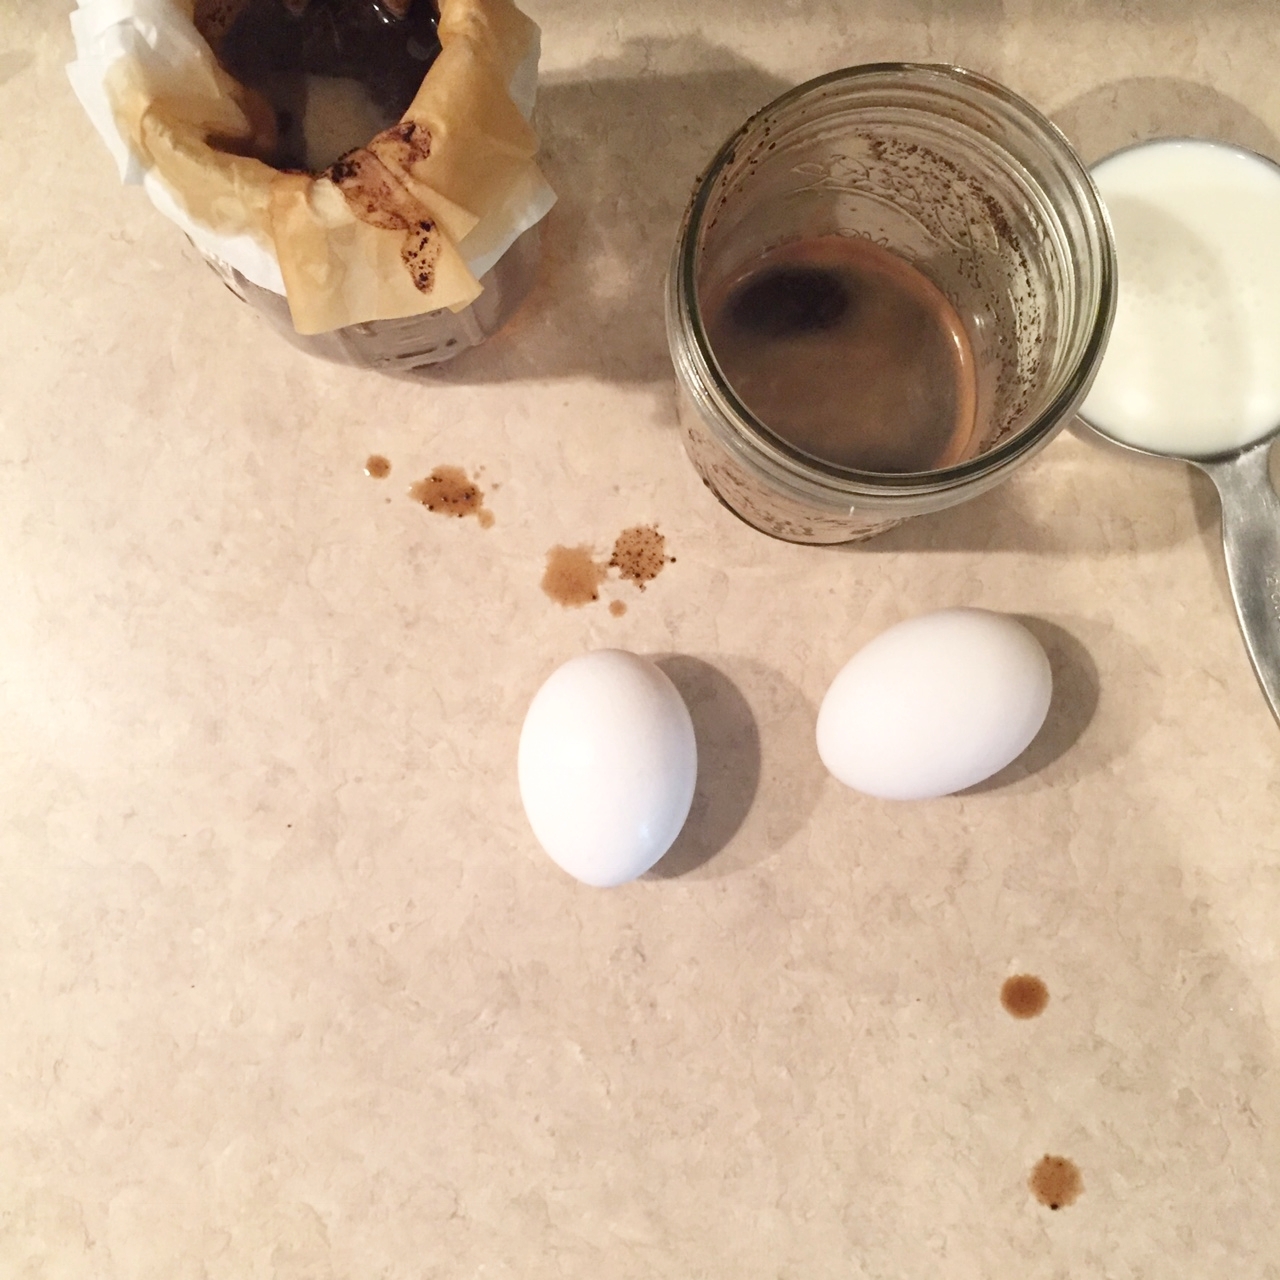
I have really dry skin, guys. Like, some days I have an internal struggle about whether I should bathe because it will dry out my skin (gross). Body butters have been essential to combat this issue for a long time, but I always got them at the store. When I started making bath bombs, I didn't really intend to start making other things too, but every source I found to help fine-tune my bath bomb recipe also featured myriad other products.
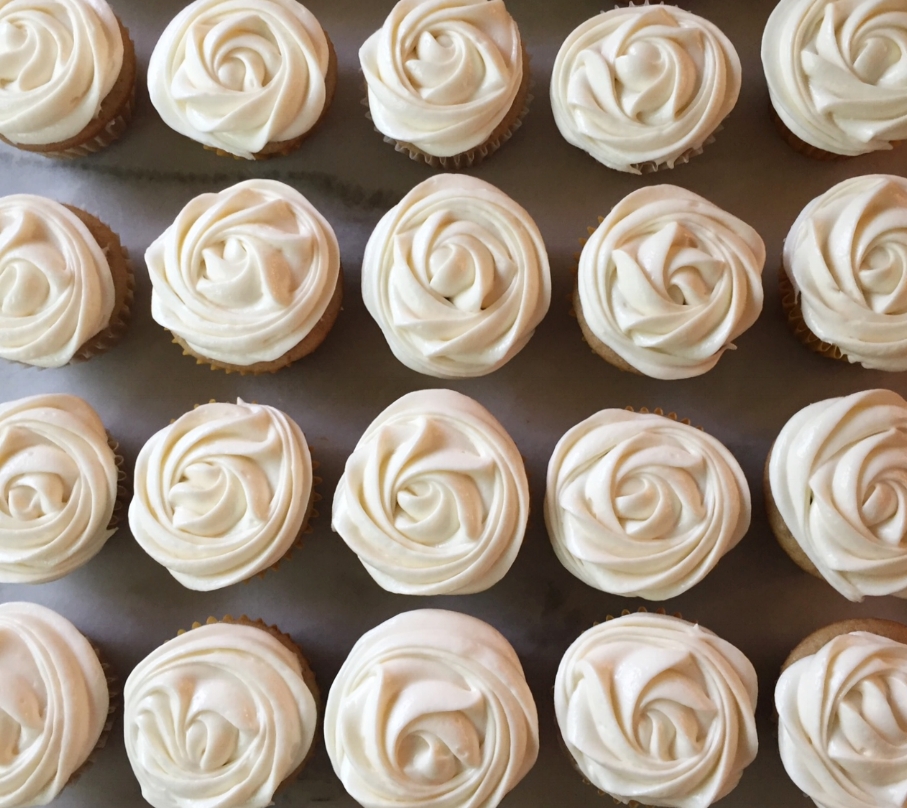
And the body butters? Oh my, they all look SO dreamy. They look deceptively edible, though I would recommend controlling the impulse to eat them. I decided to try making my own.
I admit that I have a tendency to "go off script" when it comes to making things; my body butter recipe is no different. Instead of reading a recipe and following it, I try to first have an understanding of the components. What is the purpose of each ingredient? If I substitute something else, how will it affect the end result? How can I simplify this? And, if I am going to make something myself, how can I make it better for me than what I can get at the store?
So I tried a bunch of stuff. Like my initial batches of bath bombs, there were some fairly embarrassing failures. But, I think I have found a recipe that I LOVE, works really well, has few ingredients, and is exactly what I need.
Almost Edible Body Butter
Ingredients
Mango Butter (I used 16 oz. unrefined, get it here)
Coconut Oil (solid at room temp) (4 oz)
Almond Oil (1 oz)
Beeswax (2 Tbs)
Corn starch (2 Tbs)
Fragrance, if desired (to scent)
Mica, if desired
Ice
Equipment
Double Boiler (or saucepan and glass bowl)
Whisk
Stand Mixer (with a whisk attachment)
Large bowl (big enough so that the glass bowl fits inside with enough room to surround it with ice)
silicone spatula (I don't like waste)
Pastry bags and piping tips (if you really want people to think it's frosting)
Jars with wide necks and tight lids (so you can get all the way to the bottom)
Process
Fill your sauce pan or double boiler halfway with water, and add the mango butter to the bowl. Set your heat on high, and melt the mango butter.
Add the coconut oil and almond oil. Allow to melt.
Add the beeswax. Allow to melt
Remove from heat. Add ice to the large bowl, and put the bowl with the melted oils on/in the ice. This technique is common in making butter cream frosting; I appropriated it to use in making body butter. Whisk the oils as they cool.
Once the mixture starts looking golden yellow, you can add the corn starch. The corn starch isn't necessary, but I find it can help thicken and retain the structural integrity of the butter once complete. I find it also helps mitigate the greasiness.
To add the corn starch, remove a bit of the oil mixture and add it to the corn starch in a separate, small bowl, to create a "slurry". Once they are well combined, you can add the slurry to the bowl with the oils.
As your mixture cools, you can also add fragrance. Mango butter either has a mild fragrance or none at all, so masking odors isn't really an issue like it can be for cocoa or shea butter. I like smelling like a cupcake, though, so I added lemon and rum cake fragrance oils.
Once your butter mix starts looking lighter and more opaque, transfer it to the freezer. Check on it every two minutes and stir until the mixture is the consistency of cold canned soup and the color of whipped cream. Scoop it into the bowl for your stand mixer and whip on high. Your mixture should double to triple in volume and you should get soft peaks like you would if you were beating egg whites. The volumes above yielded me more than 36 oz of body butter.
Scoop into jars. If you want, and for the record, I always do, you can pipe some of the body butter on the top after you've filled the jar. It's a nice touch and it makes the butter feel fancy. Put the lids on the jars and store in a cool place. Your body butter will harden a bit overnight; so if it feels a little soft at this time, don't worry.
Not too complicated right? If you have questions, please feel free to leave a comment! Troubleshooting is one of my favorite things to do. Also, if you just want to get your hands on some scrumptious body butter without the work, you can buy it from my Etsy.
Gee Whizz, Fizz
I am kind of compulsive about making stuff. I can't be sure if it's how I relax or if I don't know how to relax at all, so I create. I am running out of wall space, and I can only eat so many cupcakes (a lot). So, I turned my focus to bath bombs.
Well. These are just ridiculously fun to make, but a little tricky to get right. They are a blast to make with Charlotte Rose; I let her grab small toys to put inside and re-discover later, pick out the scents and colors, and "mix-a-mix-a" it up.
It took me a while to pin down a recipe. None of the ones I found worked quite right. They didn't stick together or fizz as aggressively as I wanted them to. After about ten batches and 87 sad looking bath bombs that are currently awaiting relaxing baths that I probably wont take, I am really happy with the recipe. Check it out, below.
How to Make Bath Bombs
Major Ingredients
2 parts Baking Soda (I use 4 cups for about 12 2.5 inch bath bombs)
1 part Citric Acid (I use 2 cups for about 12 bath bombs)
Corn Starch (I use about 1/4 - 1/2 cup for 12 bath bombs)
Minor (flexible) Ingredients
1 tsp Isoprophyl Alcohol, Water, or Witch Hazel (If using the above amounts)
Essential Oil or Fragrance Oil (Essential oils will require fewer drops than fragrance oil)
Food Coloring or Mica Powder, if desired.
Small Amount of Coconut Oil (liquid)
Equipment
Large Bowl
Small Bottle (I use an empty Essential Oils one)
Whisk
Sifter or Wire Colander
Measuring Cups/Spoons
Molds (You don't have to get the super fancy bath bomb molds. Before I had those, I used a cupcake pan and cupcake liners) Silicone molds also work well. And I have been known to use a metal shot glass (don't use glass, please) if I had mix left over and had already exhausted all other places to put it.
Process
I begin by measuring out the baking soda into the bowl. Next, I mix the alcohol and food coloring together in the small bottle. Shake it really hard, you want to dilute the color to avoid clumps. Once it is mixed together, pour it into the baking soda and whisk until combined.
Add desired amount of fragrance. Mix. I continue to gently whisk to evaporate some of the alcohol; too much moisture will ruin your bath bombs (about 2-3 minutes). Add corn starch.
Next, measure the citric acid into the sifter/colander above the baking soda. You don't want clumpy citric acid. Whisk to combine.
The next bit is the trickiest. The texture of this mixture is really important. You want the mixture to pack together, but easily crumble if you poke it. If it's too dry, I add coconut oil to add moisture. If it's too wet, I add more baking soda and citric acid. Here is a great FAQ from Soap Queen about troubleshooting, it also addresses how to correct some for some things that might happen during curing.
Pack your molds. I try to keep the pressure somewhere in the middle. I like it when my bath bombs float, so I don't want them too dense. But if you don't pack them enough, they will crumble really easily. I aim for the pressure of an awkward hug.
Let sit in the mold overnight, but I usually leave them for 24 hours. After 48 hours, you should be able to package your bath bombs using whatever storage method you'd like. They should be kept in a relatively airtight container or bag as humidity can mess them up a bit.
That's it! not too bad eh? If you have any questions, leave them in the comments!